.svg)
Upload and Process Sales Bills Automatically (OCR)
Complete step-by-step guide for uploading and processing sales bills automatically using advanced OCR technology. Learn how to navigate transactions, upload images, verify data, and finalize entries with proper ledger and tax configuration.
Important: OCR Processing Requirements
For best results, use high-quality, well-lit images of your sales bills. The OCR system can process multiple formats, but clear, straight, and complete document images yield the most accurate data extraction.
Advanced OCR Capabilities
Intelligent Text Extraction
Advanced OCR technology automatically extracts text from sales bills
- Accurate text recognition
- Multi-language support
- Handwriting detection
- Table structure recognition
Smart Data Mapping
AI-powered field detection and automatic data mapping
- Automatic field identification
- Invoice number detection
- Amount and tax extraction
- Vendor information capture
Quality Validation
Built-in validation and confidence scoring for extracted data
- Confidence score indicators
- Error detection alerts
- Data validation rules
- Quality assurance checks
Step-by-Step OCR Processing Guide
Go to Transactions Section
Navigate to the Transactions section in Taxlink where you can access the OCR functionality for sales bill processing.
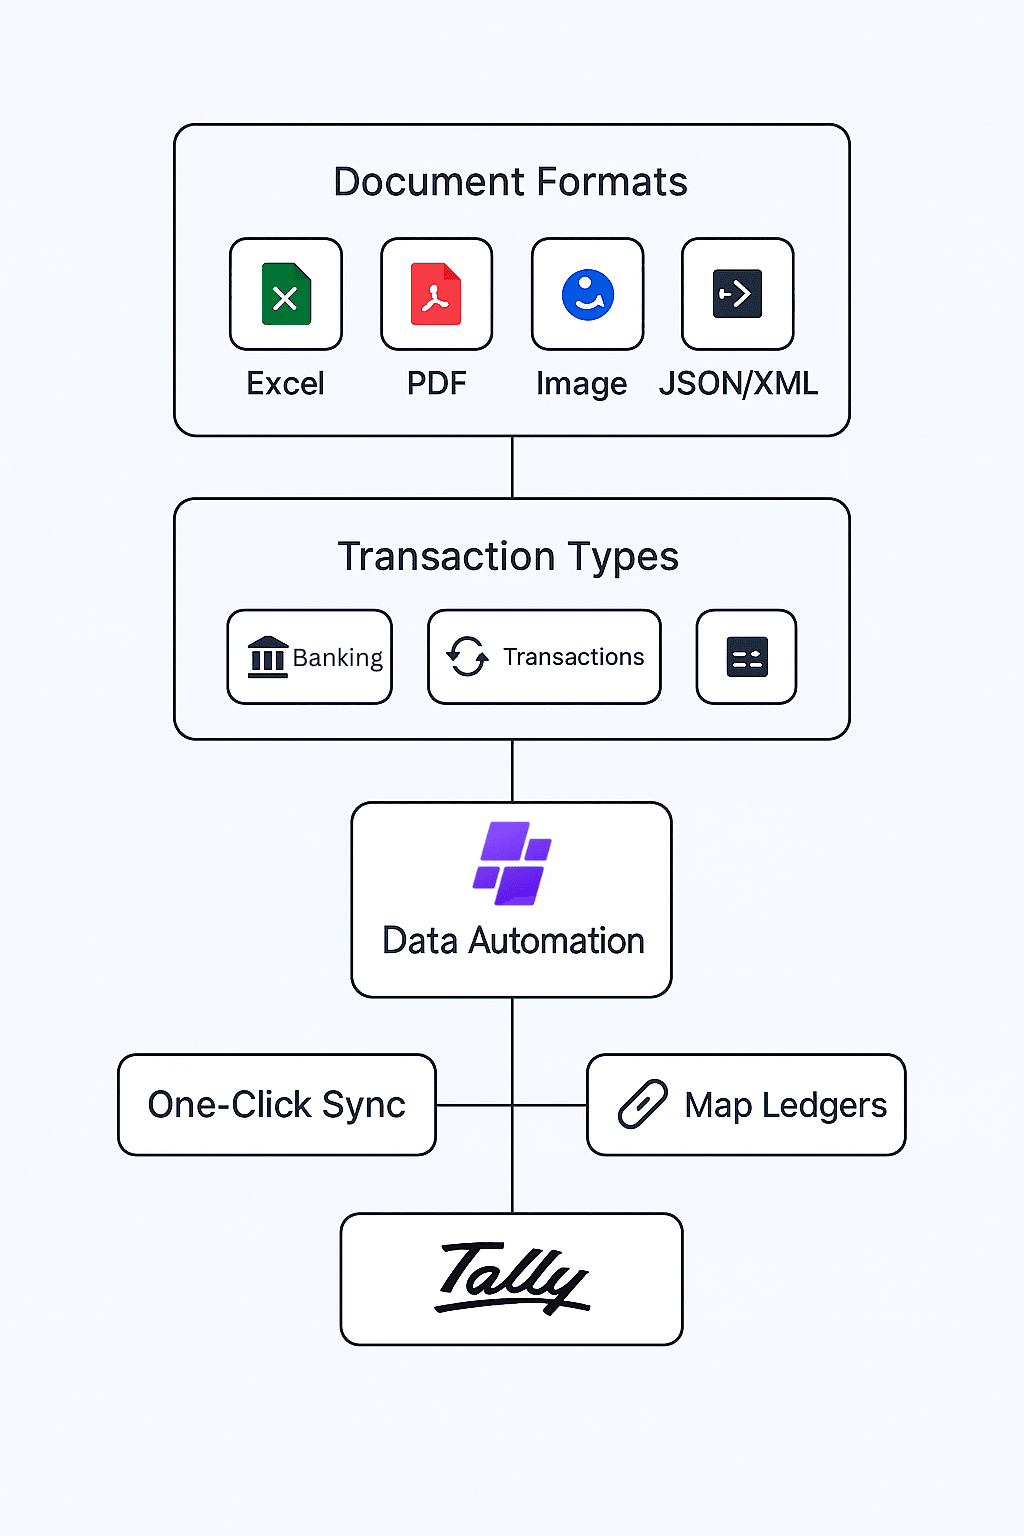
Step 1: Go to Transactions Section
Key Actions:
- Login to your Taxlink dashboard
- Locate the "Transactions" menu in the main navigation
- Click on the Transactions section to expand the options
- Look for OCR or Sales Bills processing options
- Ensure you have proper permissions to access this feature
Click on Upload Image
Find and click on the "Upload Image" button or option to start the OCR process for your sales bills.
Step 2: Click on Upload Image
Key Actions:
- Look for the "Upload Image" button in the transactions interface
- The button may be labeled as "OCR Upload" or "Scan Document"
- Click on the upload button to open the file selection dialog
- Ensure your device camera or file access permissions are enabled
- The system will prepare for image processing
Upload the File
Select and upload your sales bill image file. The system supports various image formats for OCR processing.

Step 3: Upload the File
Key Actions:
- Choose from gallery, camera, or file browser options
- Select a clear, high-quality image of your sales bill
- Supported formats: JPG, PNG, PDF, TIFF
- Ensure the image is well-lit and text is clearly visible
- The file size should be under the maximum limit (usually 10MB)
- Click "Upload" to start the OCR processing
Verify Uploaded Entry
Review the uploaded image and the initial OCR processing results to ensure the document was captured correctly.
Step 4: Verify Uploaded Entry
Key Actions:
- The system will display the uploaded image for review
- Initial OCR processing will extract text from the image
- Check that the image quality is sufficient for processing
- Verify that key areas (amounts, dates, vendor info) are visible
- Look for any rotation or orientation issues
- If needed, you can re-upload a better quality image
How to Select and Verify Data
Review and verify the extracted data from OCR processing. Select, edit, and confirm the accuracy of detected information.
Step 5: How to Select and Verify Data
Key Actions:
- OCR will automatically extract key data fields
- Review extracted information: Invoice number, date, amounts
- Verify party/vendor name and contact details
- Check product descriptions and quantities
- Edit any incorrectly detected text by clicking on fields
- Use the confidence scores to identify uncertain extractions
- Add missing information manually if not detected
Ledger, Tax, and Finalization
Configure accounting ledgers, apply appropriate tax settings, and finalize the sales bill entry for processing.
Step 6: Ledger, Tax, and Finalization
Key Actions:
- Map extracted data to appropriate accounting ledgers
- Select or create customer/party ledger accounts
- Configure product/service ledgers for line items
- Apply correct tax rates (GST, VAT, etc.)
- Verify tax calculations and amounts
- Set the accounting period and voucher type
- Review all mapped data before final submission
- Click "Finalize" to complete the processing
Supported File Formats
JPG/JPEG
High-quality photo format, ideal for camera captures
Max Size: 10MB
Excellent for photos
PNG
Lossless format, perfect for screenshots and scanned documents
Max Size: 10MB
Best for scanned docs
Document format supporting multi-page bills
Max Size: 25MB
Multi-page support
TIFF
Professional scanning format with high fidelity
Max Size: 15MB
Professional scans
Extracted Data Fields
The OCR system automatically detects and extracts the following information from your sales bills:
Invoice Details
- Invoice Number
- Invoice Date
- Due Date
- Reference Number
Party Information
- Vendor Name
- Address
- Contact Details
- Tax Numbers
Line Items
- Product/Service Name
- Quantity
- Rate
- Amount
Tax & Totals
- Tax Rate
- Tax Amount
- Subtotal
- Grand Total
Best Practices for OCR Processing
Image Quality
Use high-resolution images with good lighting. Ensure text is clear and readable without blur or distortion.
Document Orientation
Keep the document straight and properly oriented. The OCR works best with upright, rectangular documents.
Complete Visibility
Ensure all important information is visible in the image. Avoid shadows, reflections, or cut-off edges.
Manual Verification
Always review OCR results manually. Verify extracted amounts, dates, and party information for accuracy.
Troubleshooting Common Issues
Poor Text Recognition
Ensure good lighting and image quality. Try capturing the image again with better focus and contrast.
Missing Data Fields
Some fields may not be detected automatically. Manually add missing information using the edit fields.
Incorrect Amounts
Double-check extracted amounts against the original document. Edit any incorrect values before finalization.
Upload Errors
Check file size limits and format compatibility. Ensure stable internet connection for upload.
Need more help?
Explore other OCR features and document processing options