.svg)
Create Bulk Sales in Taxlink
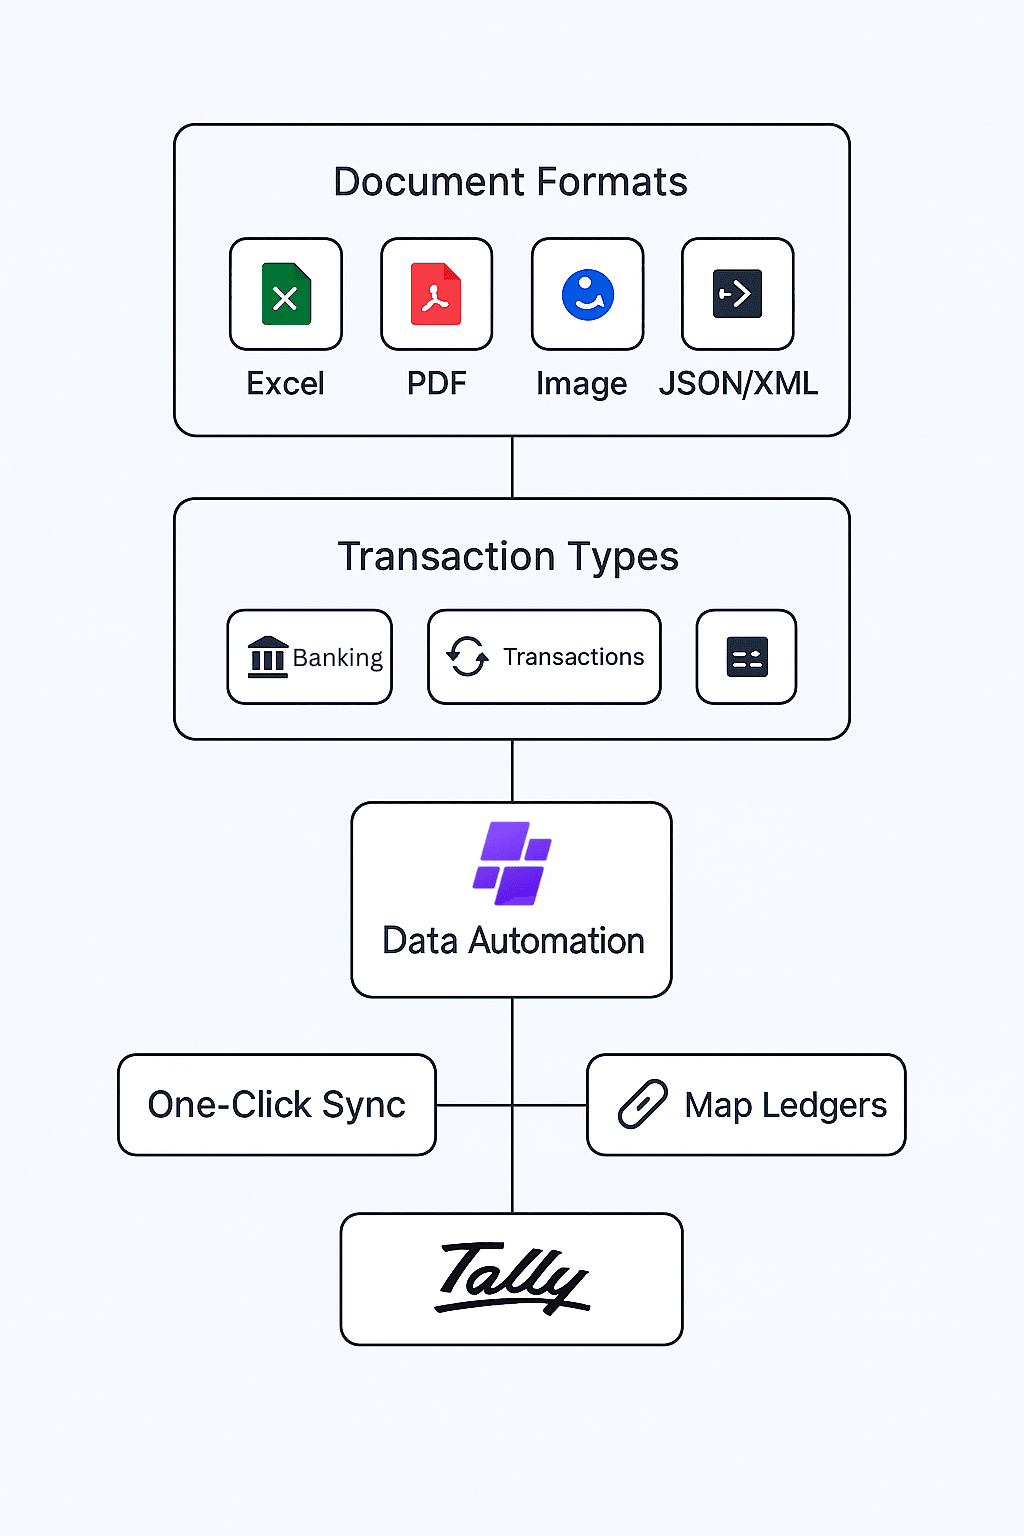
Learn how to efficiently create multiple sales entries in Taxlink using bulk upload functionality, including Excel/PDF template management, data mapping, GST configuration, and seamless Tally integration.
Prerequisites
- Active Taxlink subscription with sales module access
- Excel/PDF reader software for template preparation
- Complete sales data with customer and product details
- Valid GST registration and ledger setup in Tally
- Reliable internet connection for file uploads and Tally sync
Step-by-Step Bulk Sales Guide
Open Sales in Bulk Upload
Navigate to the Sales module and access the bulk upload functionality to begin importing multiple sales entries efficiently.
Step 1: Open Sales in Bulk Upload
Key Actions:
- Log into your Taxlink dashboard
- Navigate to the "Sales" section in the main menu
- Look for the "Bulk Upload" or "Bulk Sales" option
- Click on "Bulk Upload" to open the sales bulk import interface
- Wait for the module to load completely
- Ensure you have proper permissions for bulk sales operations
Download Sample Excel or PDF File
Download the official sample template in Excel or PDF format to understand the required data structure and format for bulk sales import.

Step 2: Download Sample Excel or PDF File
Key Actions:
- Click on the "Download Sample Excel" or "Download Sample PDF" button
- Choose your preferred format (Excel recommended for data entry)
- Save the sample file to your computer
- Open the template in Excel, Google Sheets, or PDF viewer
- Review all column headers and data format requirements
- Note any mandatory fields and validation rules
- Use this template as a guide for preparing your sales data
Fill Up the Files
Populate the downloaded template with your sales data, ensuring all required fields are completed with accurate customer and product information.
Step 3: Fill Up the Files
Key Actions:
- Open your downloaded sample template file
- Fill in customer details like name, address, and contact information
- Enter product or service details including descriptions and quantities
- Add pricing information, unit rates, and total amounts
- Include GST details, tax rates, and HSN/SAC codes
- Fill in invoice dates, due dates, and reference numbers
- Ensure all mandatory columns are completed accurately
- Validate numerical data and date formats
- Save the completed file with a descriptive filename
Upload Files (Single or Multiple)
Upload your completed sales data files to Taxlink with flexible options to upload one file at a time or multiple files simultaneously.
Step 4: Upload Files (Single or Multiple)
Key Actions:
- Click on the "Upload File" or "Choose Files" button
- For single upload: Select one completed Excel/PDF file
- For multiple upload: Hold Ctrl/Cmd and select multiple files
- Verify file formats are supported (.xlsx, .xls, .pdf)
- Check file size limits (typically under 10MB per file)
- Wait for upload progress to complete for each file
- Review upload status messages for success or errors
- Confirm all files have been uploaded successfully
Check Mapped and Unmapped Data
Review the uploaded data to identify which entries are mapped to existing customers/products and which are new unmapped entries.
Step 5: Check Mapped and Unmapped Data
Key Actions:
- Review the data mapping results screen after upload
- Check "Mapped" entries that match existing customers/products
- Identify "Unmapped" entries that need new customer/product creation
- Verify mapped data shows correct customer and product matches
- Review any mapping suggestions provided by the system
- Resolve any mapping conflicts or duplicates
- Confirm data accuracy before proceeding to next step
- Make note of any entries that need manual review
Select GST Ledger from Excel Sheet
Configure GST ledger accounts by selecting appropriate tax ledgers based on the data from your uploaded Excel sheet.

Step 6: Select GST Ledger from Excel Sheet
Key Actions:
- Navigate to the GST Ledger configuration section
- Review GST data extracted from your Excel sheet
- Select appropriate GST ledger accounts for different tax rates
- Map CGST, SGST, and IGST ledgers correctly
- Configure output GST accounts for sales transactions
- Verify HSN/SAC codes are properly associated
- Check tax rate mappings match your Excel data
- Ensure interstate and intrastate sales are handled correctly
Enable GST Auto Calculation (If Required)
Optionally enable automatic GST calculation features to ensure accurate tax computations for all sales entries.
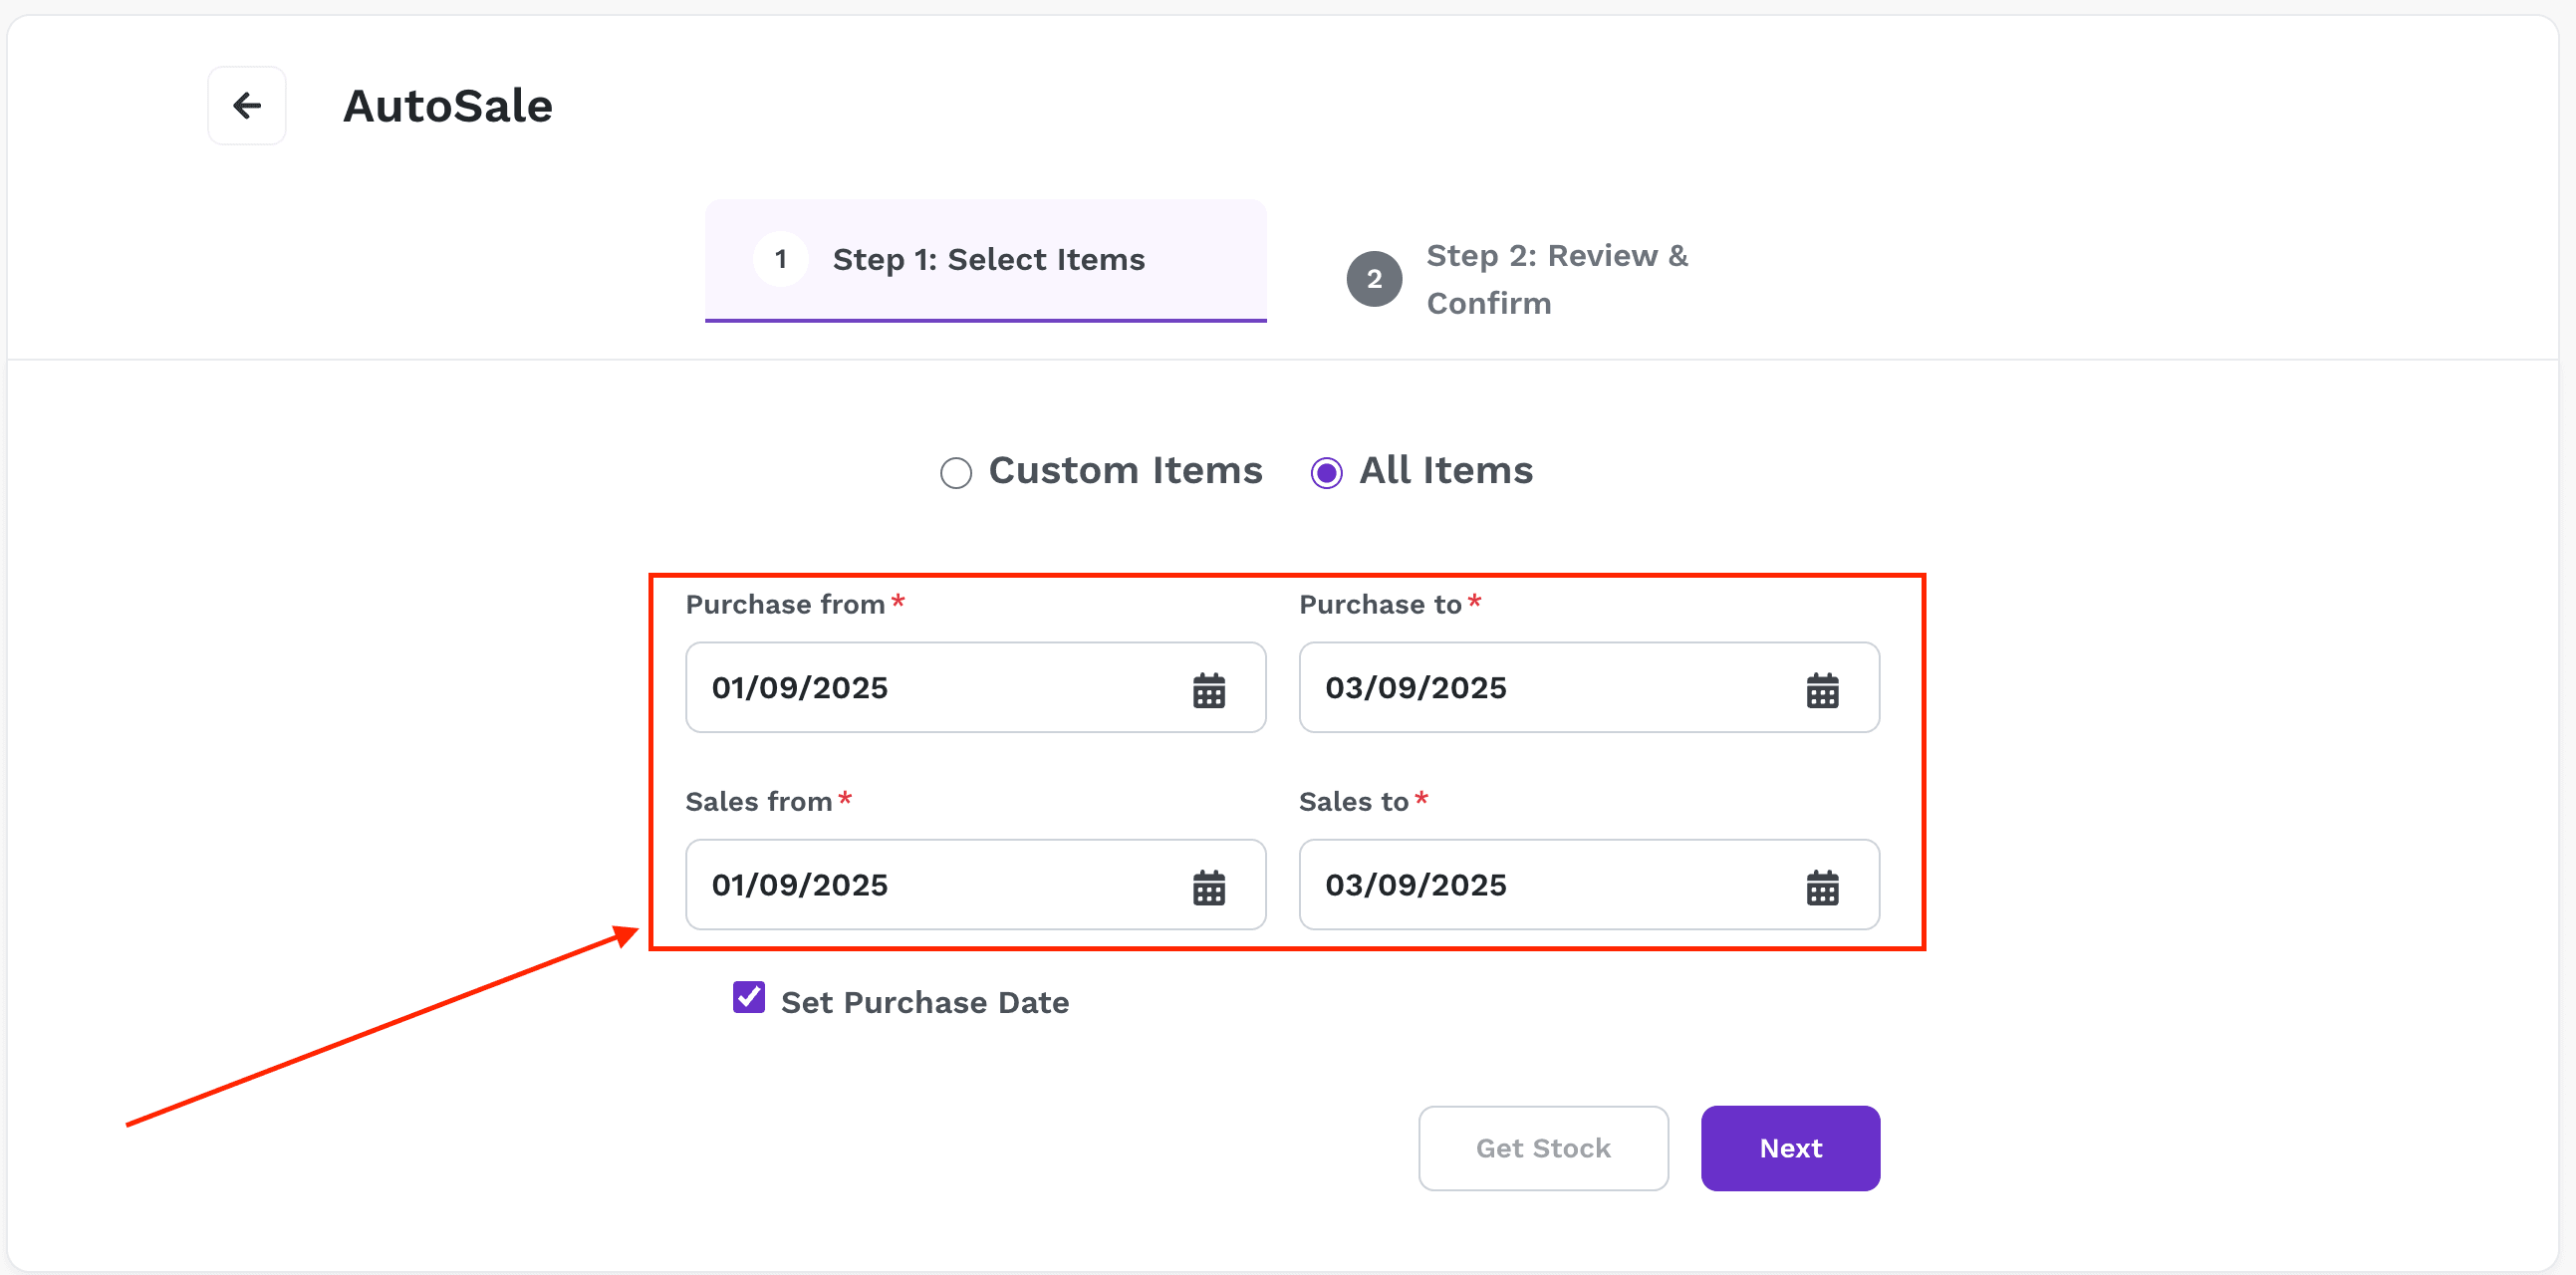
Step 7: Enable GST Auto Calculation (If Required)
Key Actions:
- Locate the "GST Auto Calculation" toggle option
- Enable automatic GST calculation if your data needs tax computation
- Configure default GST rates for different product categories
- Set up customer-wise GST preferences (registered/unregistered)
- Configure place of supply rules for interstate sales
- Verify calculation rules match your business requirements
- Test calculation with a few sample entries
- Disable if your Excel already contains calculated GST amounts
Click Save Button
Save all your bulk sales entries to Taxlink database to preserve your work before final processing.
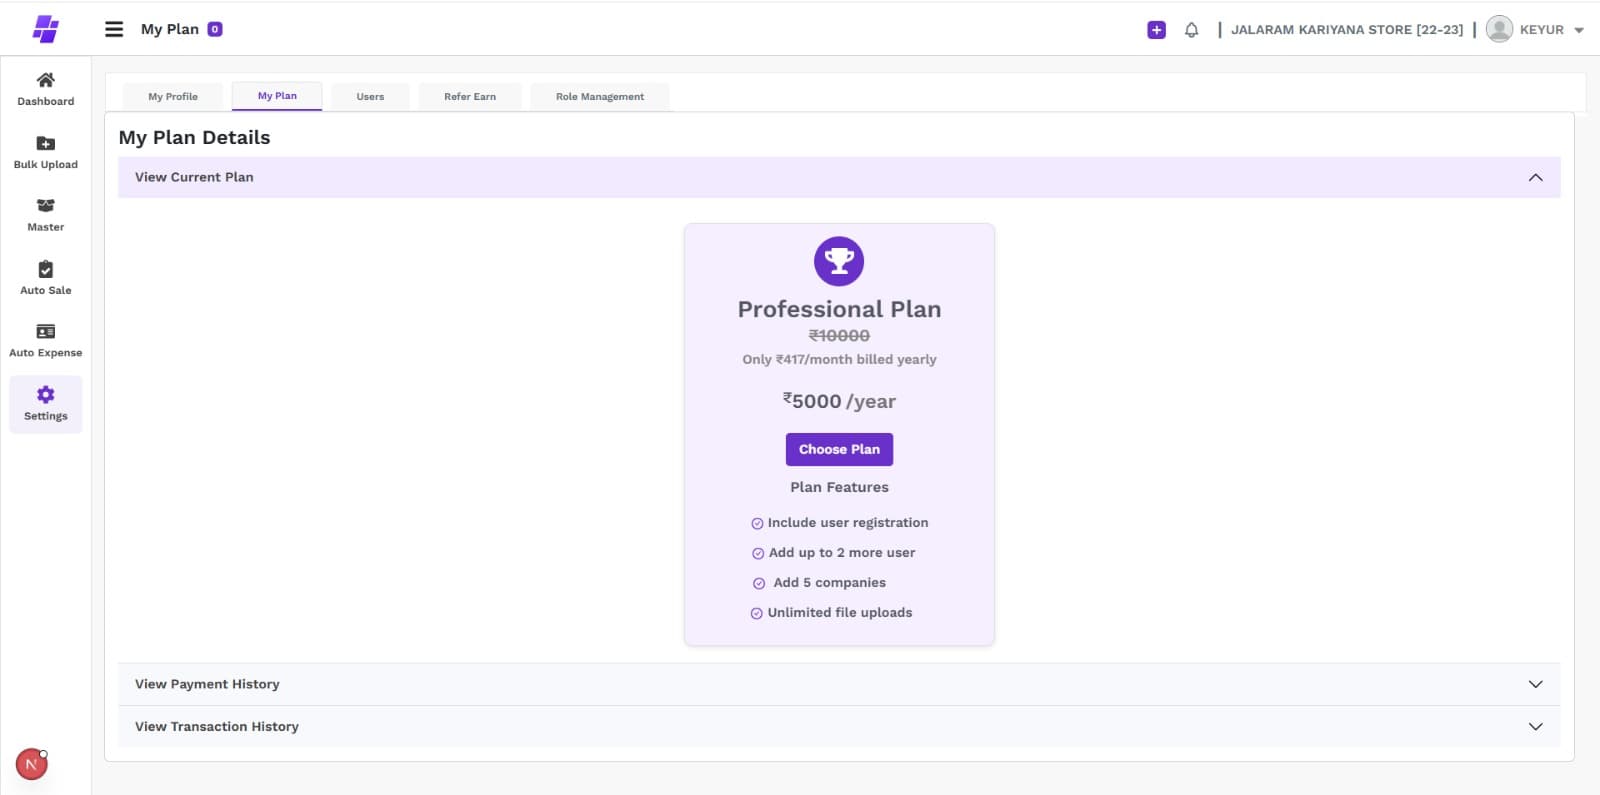
Step 8: Click Save Button
Key Actions:
- Review all entries and configurations one final time
- Click the "Save" button to store entries in Taxlink
- Wait for the save operation to complete
- Verify save confirmation message appears
- Check that all entries are properly saved
- Note any save errors or warnings that appear
- Ensure data integrity before proceeding to Tally sync
- Keep a backup of your original Excel files
Save and Send to Tally
Complete the process by synchronizing your bulk sales entries with Tally for seamless accounting integration.
Step 9: Save and Send to Tally
Key Actions:
- Click "Send to Tally" or "Sync with Tally" button
- Monitor the synchronization progress indicator
- Wait for the sync process to complete
- Verify successful transmission confirmation message
- Check Tally software for the imported sales entries
- Verify all customer and product ledgers are created
- Confirm GST calculations appear correctly in Tally
- Resolve any sync errors or conflicts if they occur
- Generate sales reports to verify data accuracy
Pro Tips for Bulk Sales Success
Always use the latest sample template to ensure compatibility with current Taxlink features
Keep customer and product names consistent to improve mapping accuracy
Review mapped vs unmapped data carefully to avoid duplicate entries
Double-check GST rates and HSN codes to ensure tax compliance
Related Articles
Need Help with Bulk Sales?
Our support team is available to help you with bulk sales setup, data mapping, and troubleshooting.